von
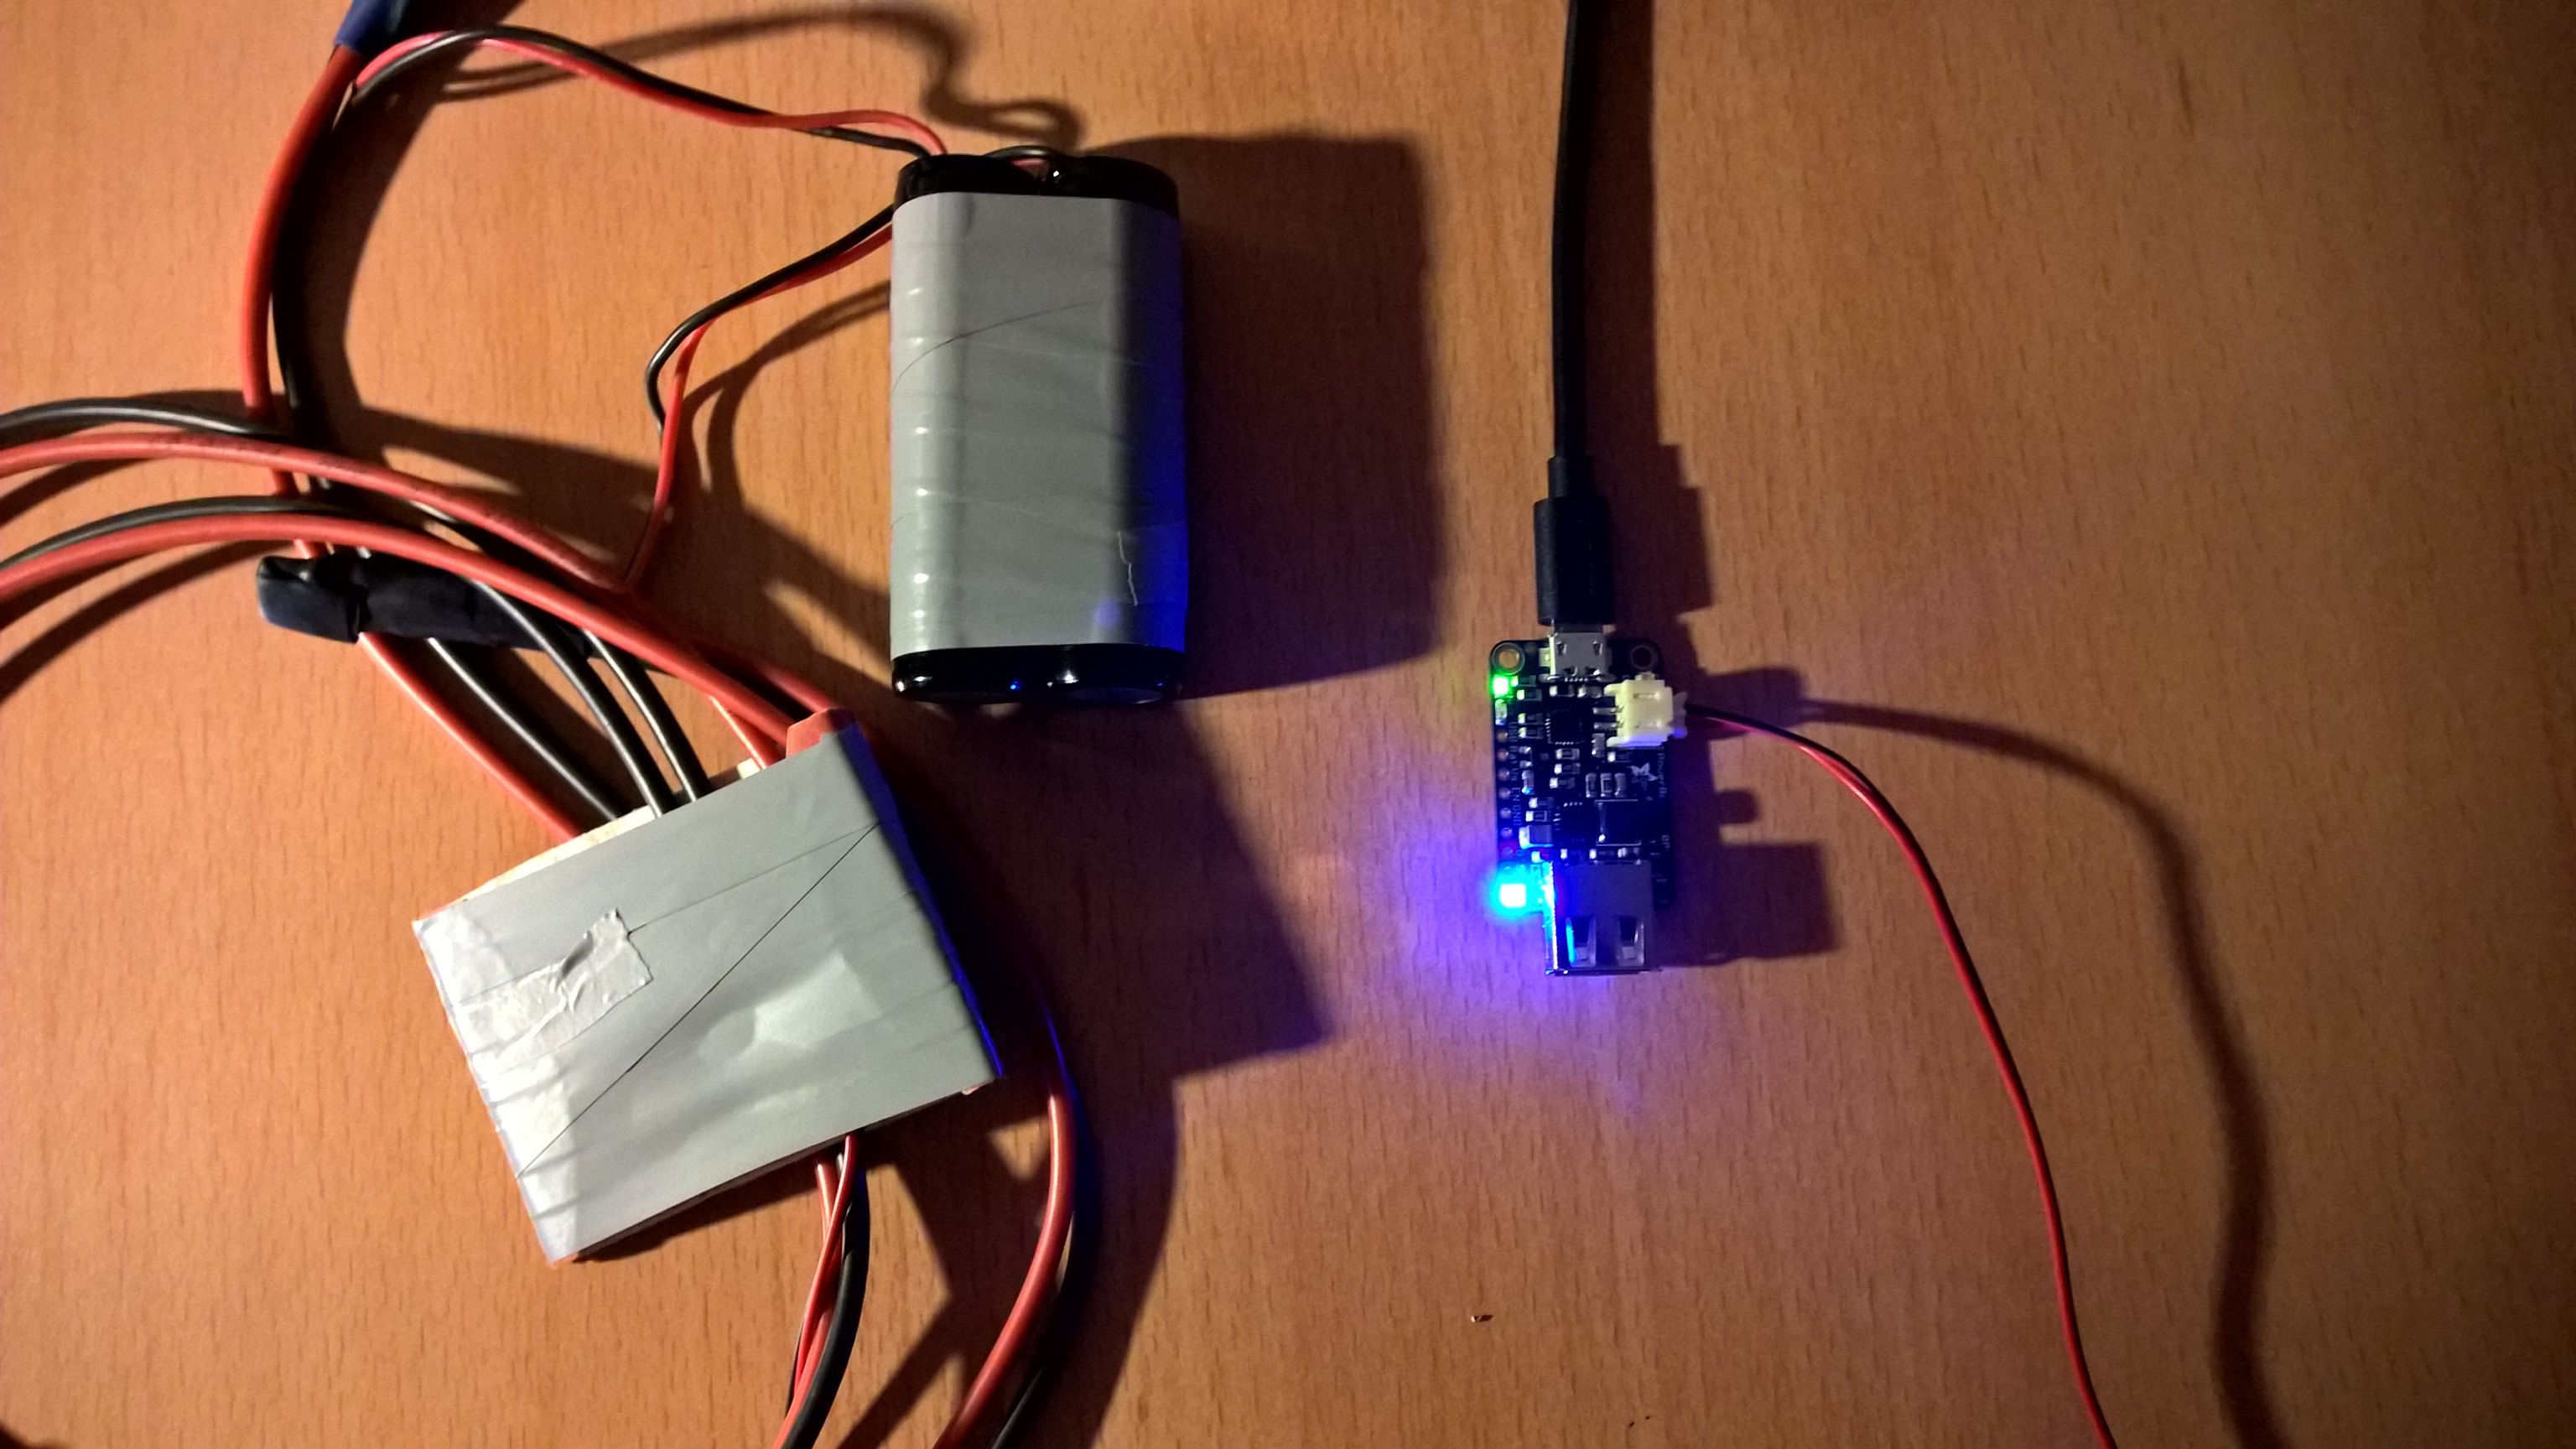
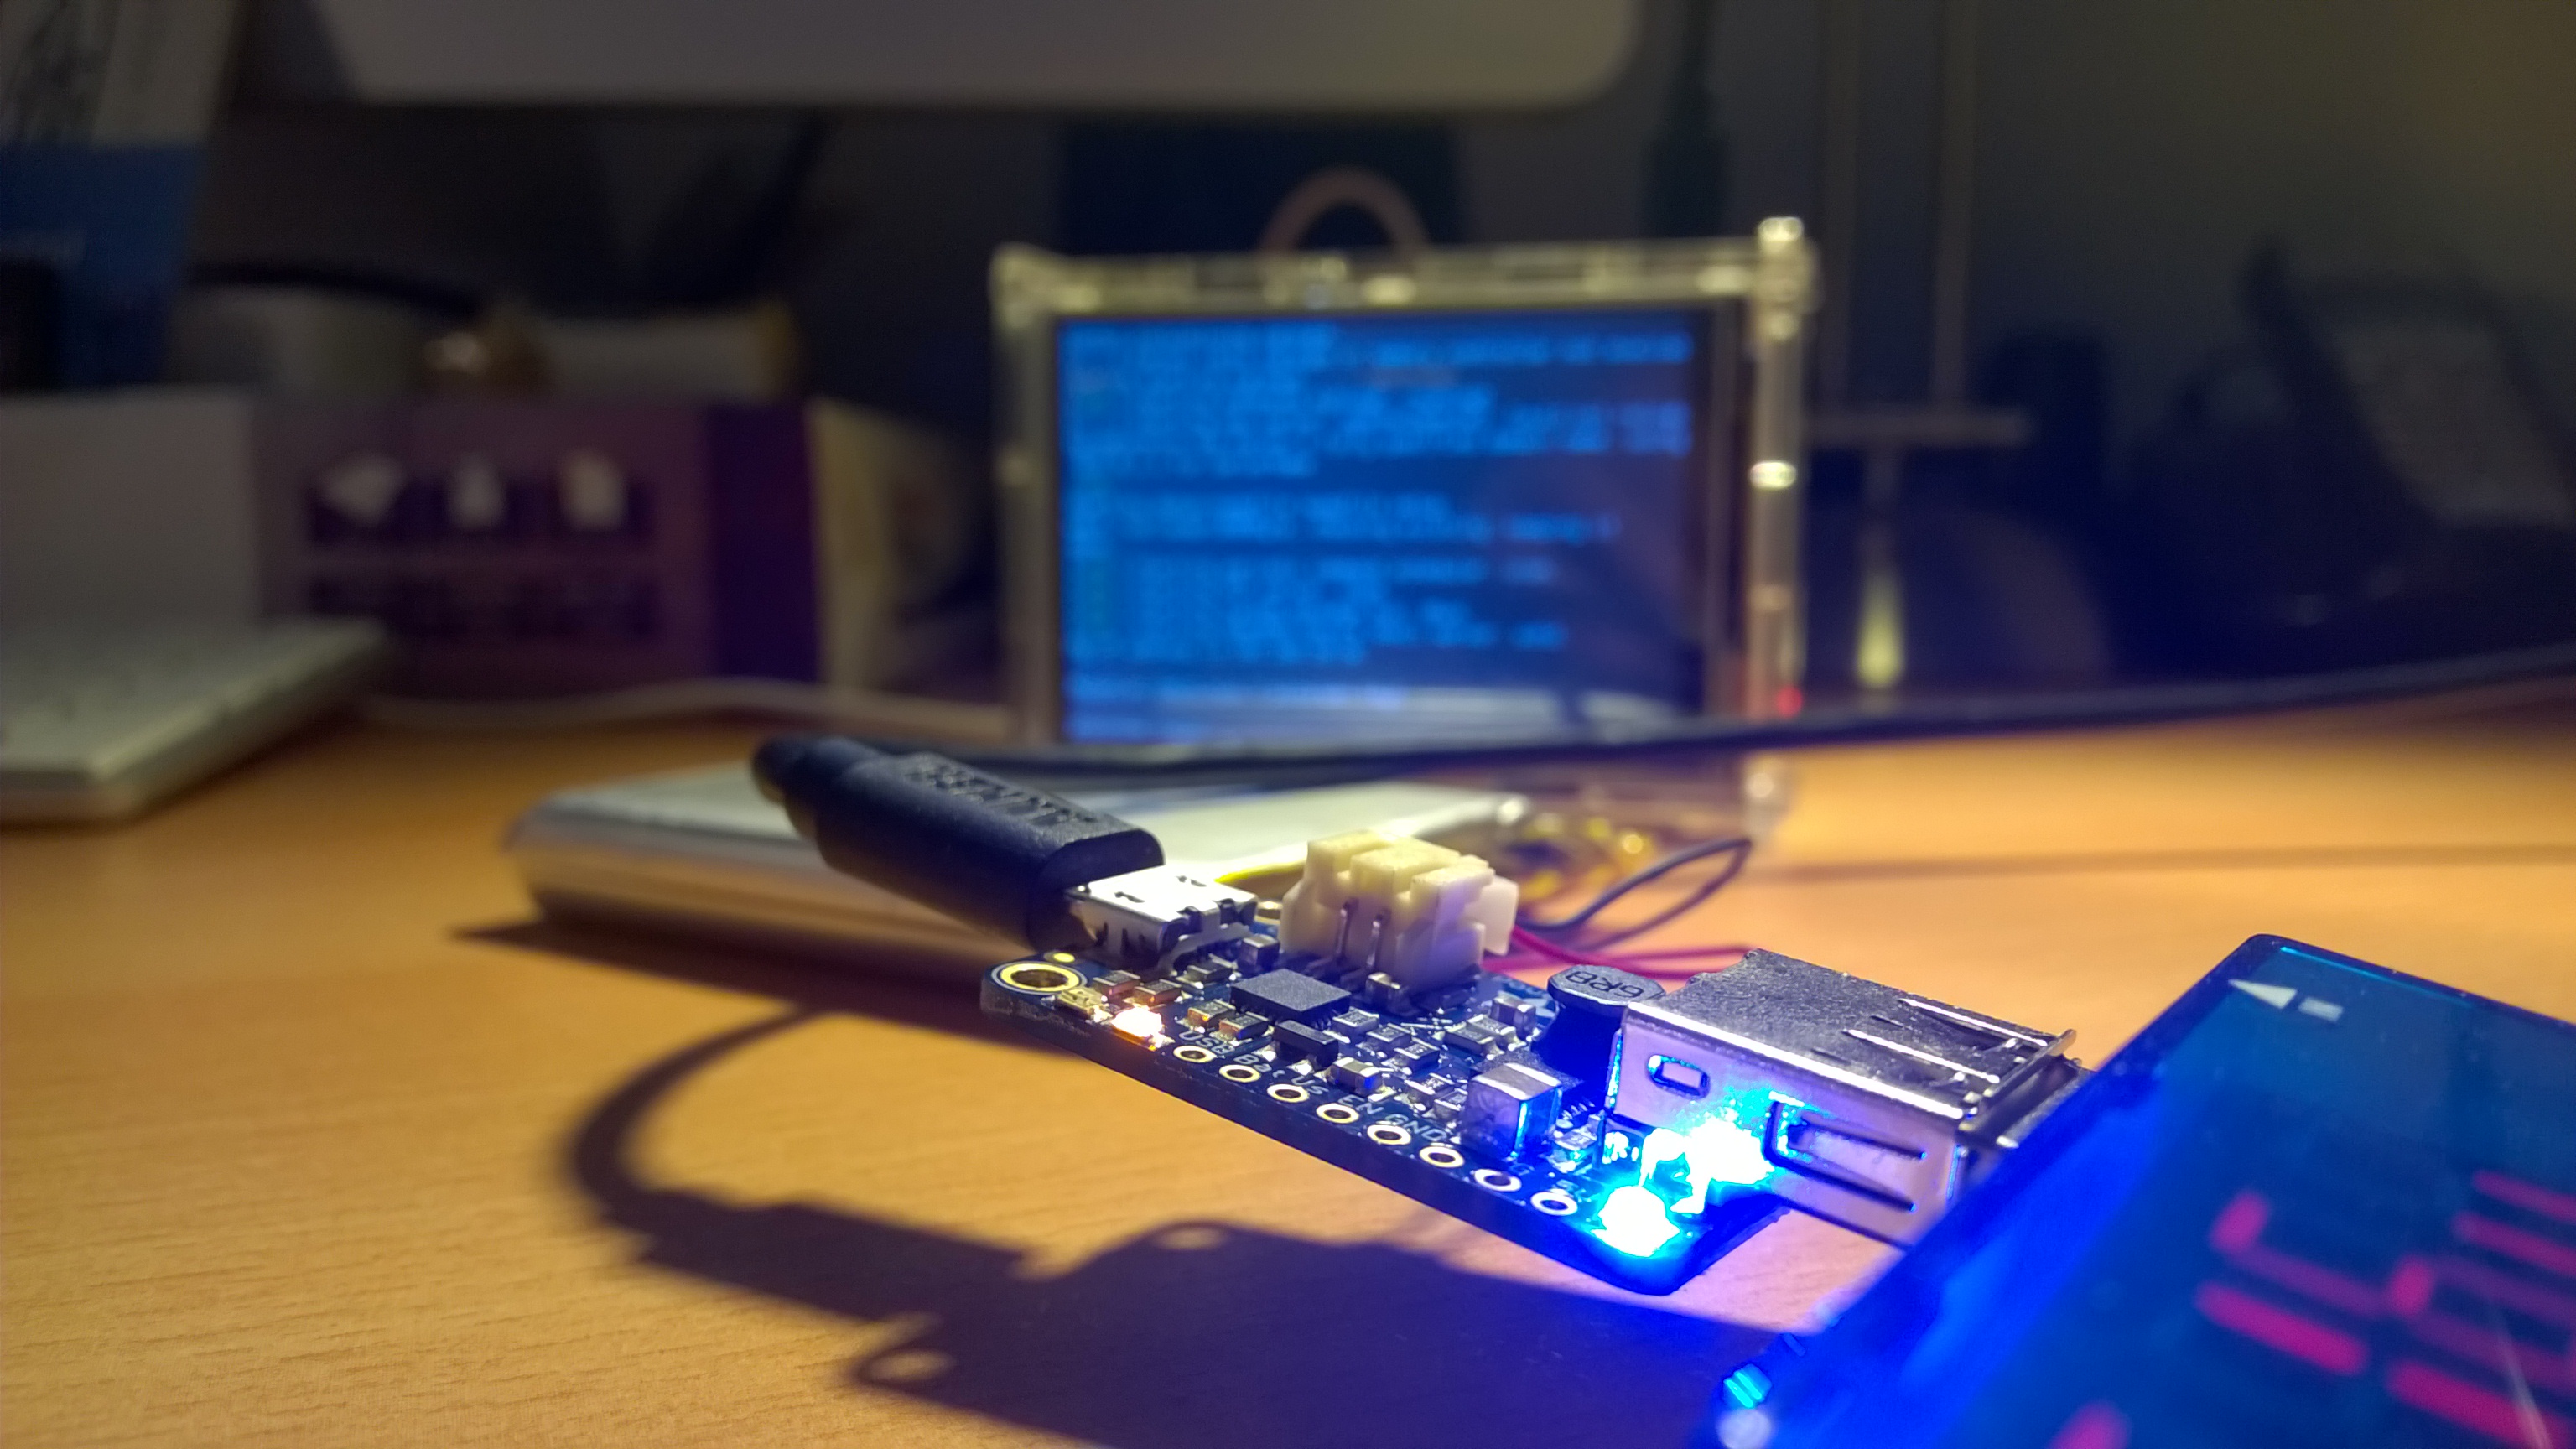
von Nun ist die Platine angekommen und bin wirklich begeistert. Die heutige Technik ist schon derart fortgeschritten und darüber hinaus macht es wirklich Spass. Die Erfolgserlebnisse stellen sich kurzfristig ein. Um was handelt es sich hier überhaupt?
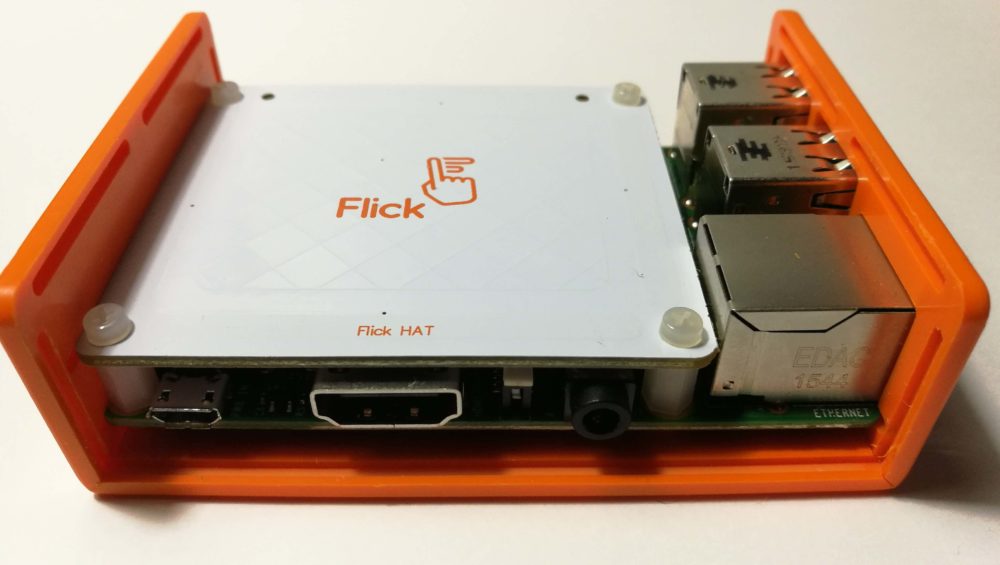
Die Platine kann an den großen USB-Anschluß-Port eine 5 Volt Spannung mit 1000 mAh Strom liefern. Die Spannungsquelle ist ein Lithium Polymer Akku mit 3.7 Volt mit 6000 mAh. Dh. es ist ein verlustfreier Gleichstromwandler, der aus einer Eingangsspannung von 3.7 Volt, eine Ausgangspannung von 5 Volt liefert. Es können Verbraucher wie iPad etc. angeschlossen werden. In unserem Fall wird damit der Raspberry Pi mit Spannung versorgt. Darüber hinaus kann die Platine den Lithium Polymer Akku aufladen. Die Ladung erfolgt über den Mini-USB-Anschluß.


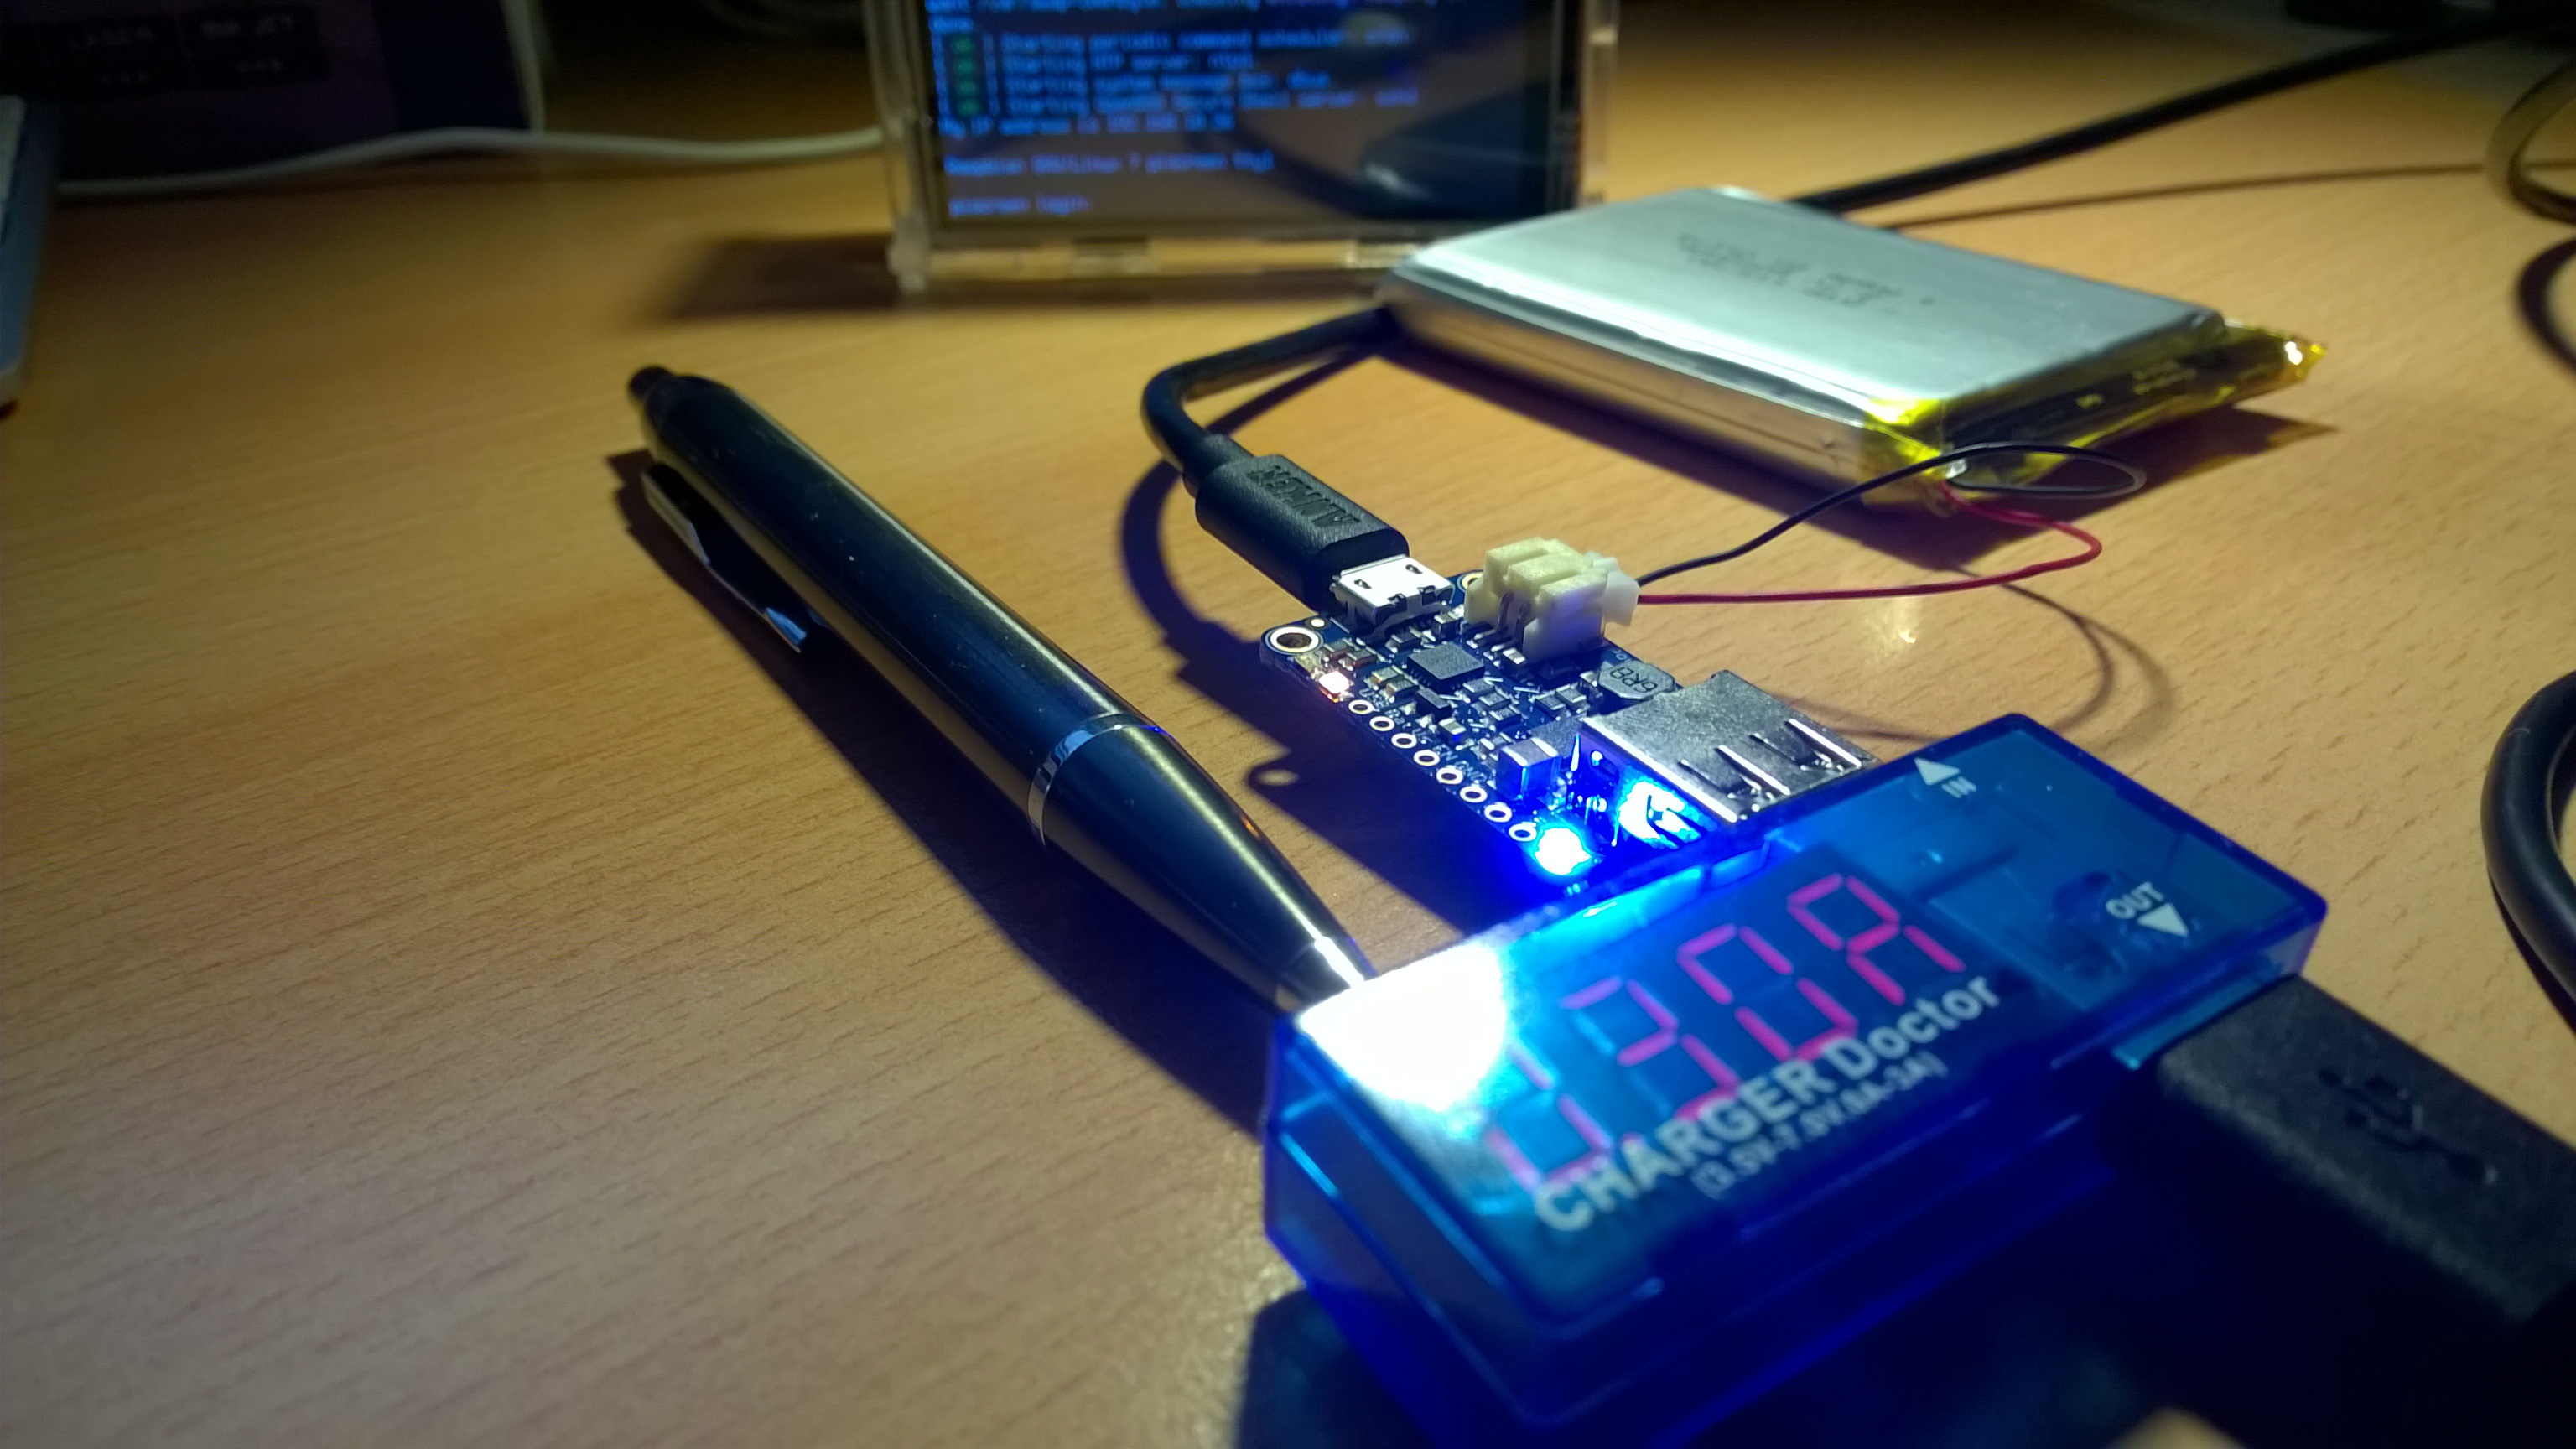

Der Wirkungsgrad dieses Moduls liegt bei 90%. Der Stromverbrauch im Betrieb selbst liegt bei 5 mA und im abgeschalteten Zustand bei 20 uA.
Beschreibung der Power Pin Anschlüße
Übernommen von https://learn.adafruit.com/adafruit-powerboost-1000c-load-share-usb-charge-boost/pinouts
- USB – this is the micro USB 5V power pin. It’s the pin that is used to charge the battery, NOT the output power! You can use this if you want to grab power from the microUSB port when it is plugged in
- BAT – this is the battery input, connected directly to the JST connector. For most Lithium batteries, this will range from 3.0V when near-dead to 4.2V when fully-charged. Higher voltages will let you draw more current and in general, are more efficient. Try to keep the wires going to this pin nice and short – 3″ or less is best!
- VS – this is the load shared output from the battery charger. When there is 5V coming in from the micro-B USB power plug, this pin will have approx 5V on it (less a little due to the internal resistance of the charger chip’s MOSFET). When there’s no USB charging, the Vs pin will be the same voltage as the Bat pin.
- GND – this is the power ground. This boost converter is not ‚isolated‘ – the ground input is the same as the ground output
- 5V – this is the boosted output. When the board is running, the voltage will be 5.2V approximately. It may dip down to 5V as the current draw starts to go up (over 500mA). When the board is disabled, this output is ‚floating‘ but you should still try not to apply a voltage to it while the board is disabled. There’s a blue LED connected to this pin which will let you know when there’s power output
Beschreibung der Control Pin Anschlüße
- EN – this is the ‚enable‘ pin. By default it is pulled ‚high‘ to VS. To turn off the booster, connect this pin to ground. The switch can be as small as you like, it is just a signal. Contrast this to an inline power switch which would have to be able to handle up to 2A of current! When the chip is disabled the output is completely disconnected from the input.
- LBO – not a leveraged buy out! this is the Low Battery Output. By default it is pulled high to BAT but when the charger detects a low voltage (under 3.2V) the pin will drop down to 0V. You can use this to signal when its time to shut down or alert the user that the battery is low. There is also a red LED connected to this pin.
Beschreibung LED OnBoard
- The Blue LED sits next to the USB connector socket, and indicates the 5V output power state.
- The Red LED is next to the battery JST port and indicates when the battery voltage is below 3.2VDC (Low Battery Output)
- The Yellow LED is next to the microUSB connector and indicates when the battery is being charged
- The Green LED is also next to the microUSB connector and indicates when the battery is done charging (all full)