 von
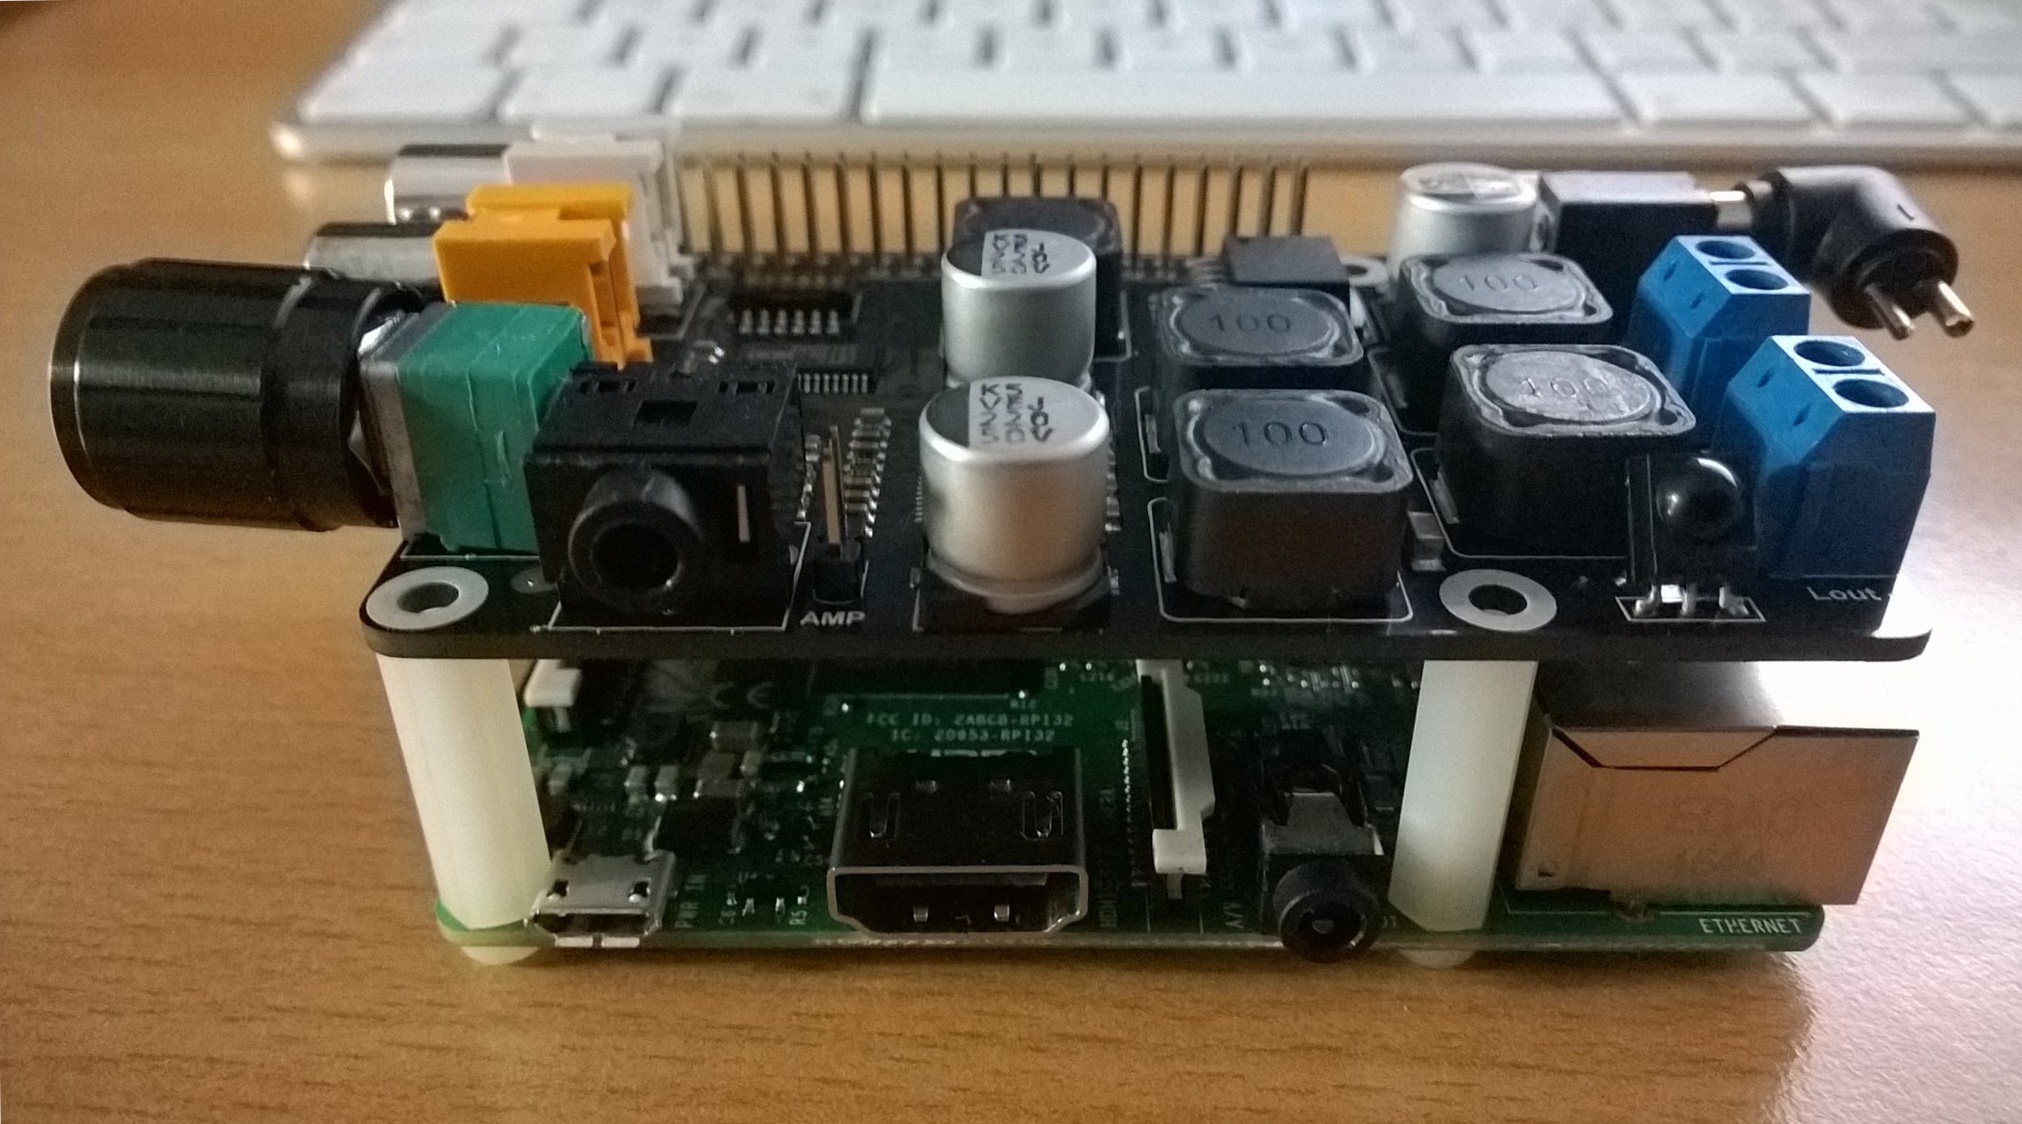
von Vor ein paar Tagen wurde das Board X400 von der Firma Suptronics zugestellt.
Das Board wurde von der Firma www.gearbest.com gesponsert, vielen Dank an dieser Stelle an @Mark.
Das Paket wurde von der Firma Lomeway in Deutschland geliefert, somit gibt es keine Zusatzkosten für den Zoll.
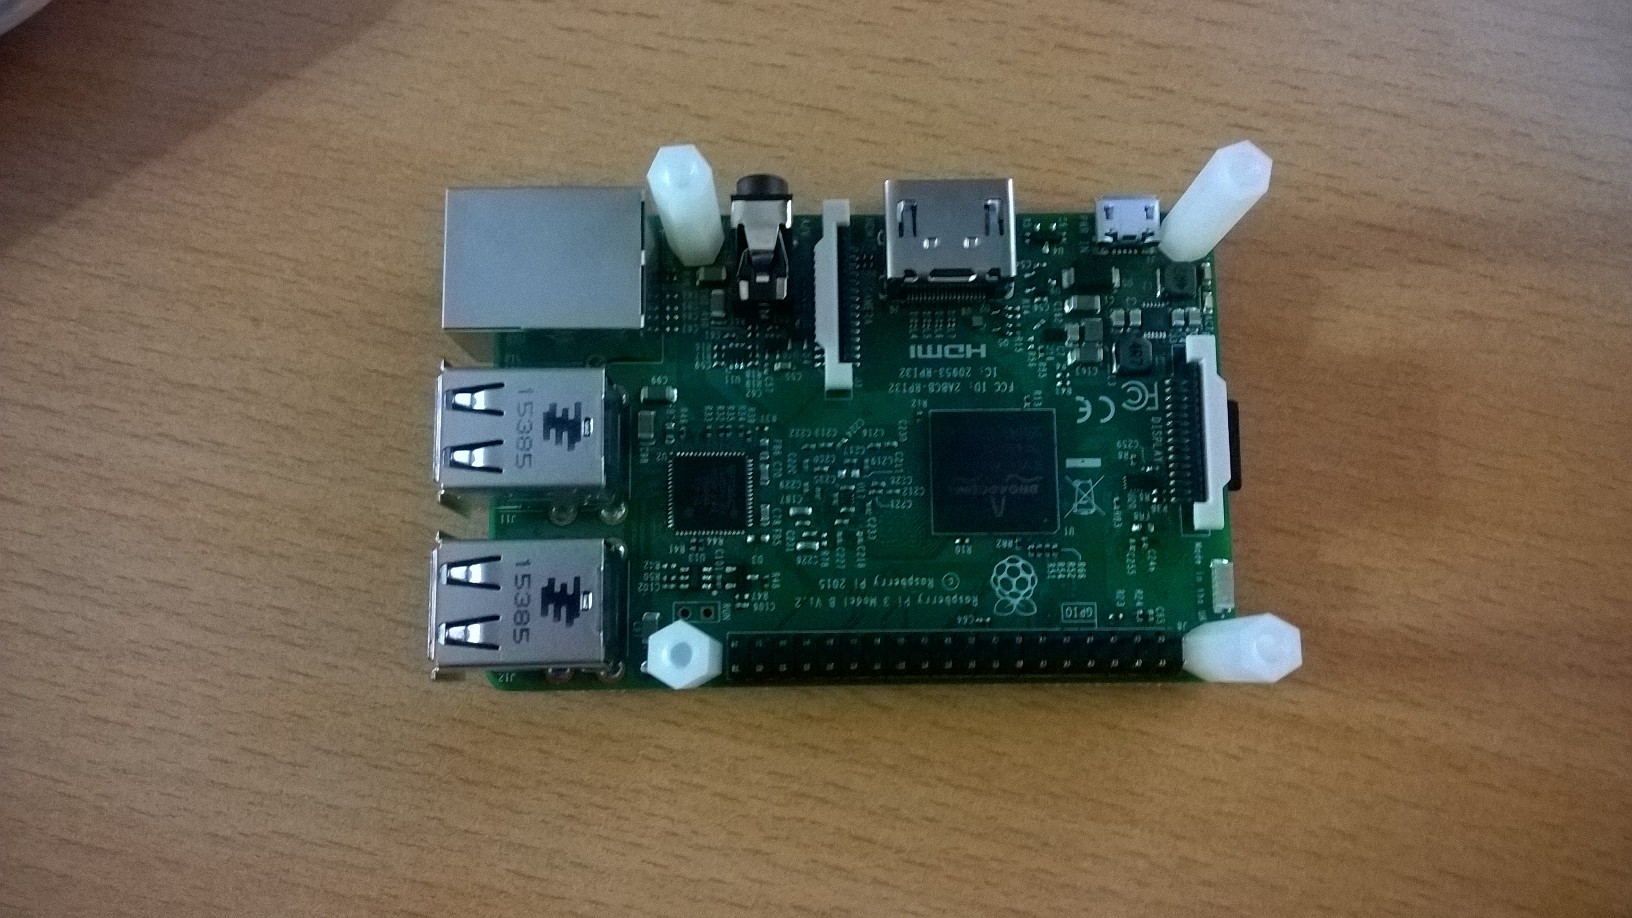
Geliefert wurde die Platine, Abstandshülsen, Plastikschrauben und Brückenstecker zum aufstecken auf die Kontakte.
Die Technischen Daten :
- Eingangsspannung 6V bis 24V
- Ausgang für Raspberry PI 5V, 3A via Step-Down DC/DC Converter
- Full-HD audio – up to 24-bit/192kHz playback
- Class leading audio; 112db SNR, and THD of 0.0019%
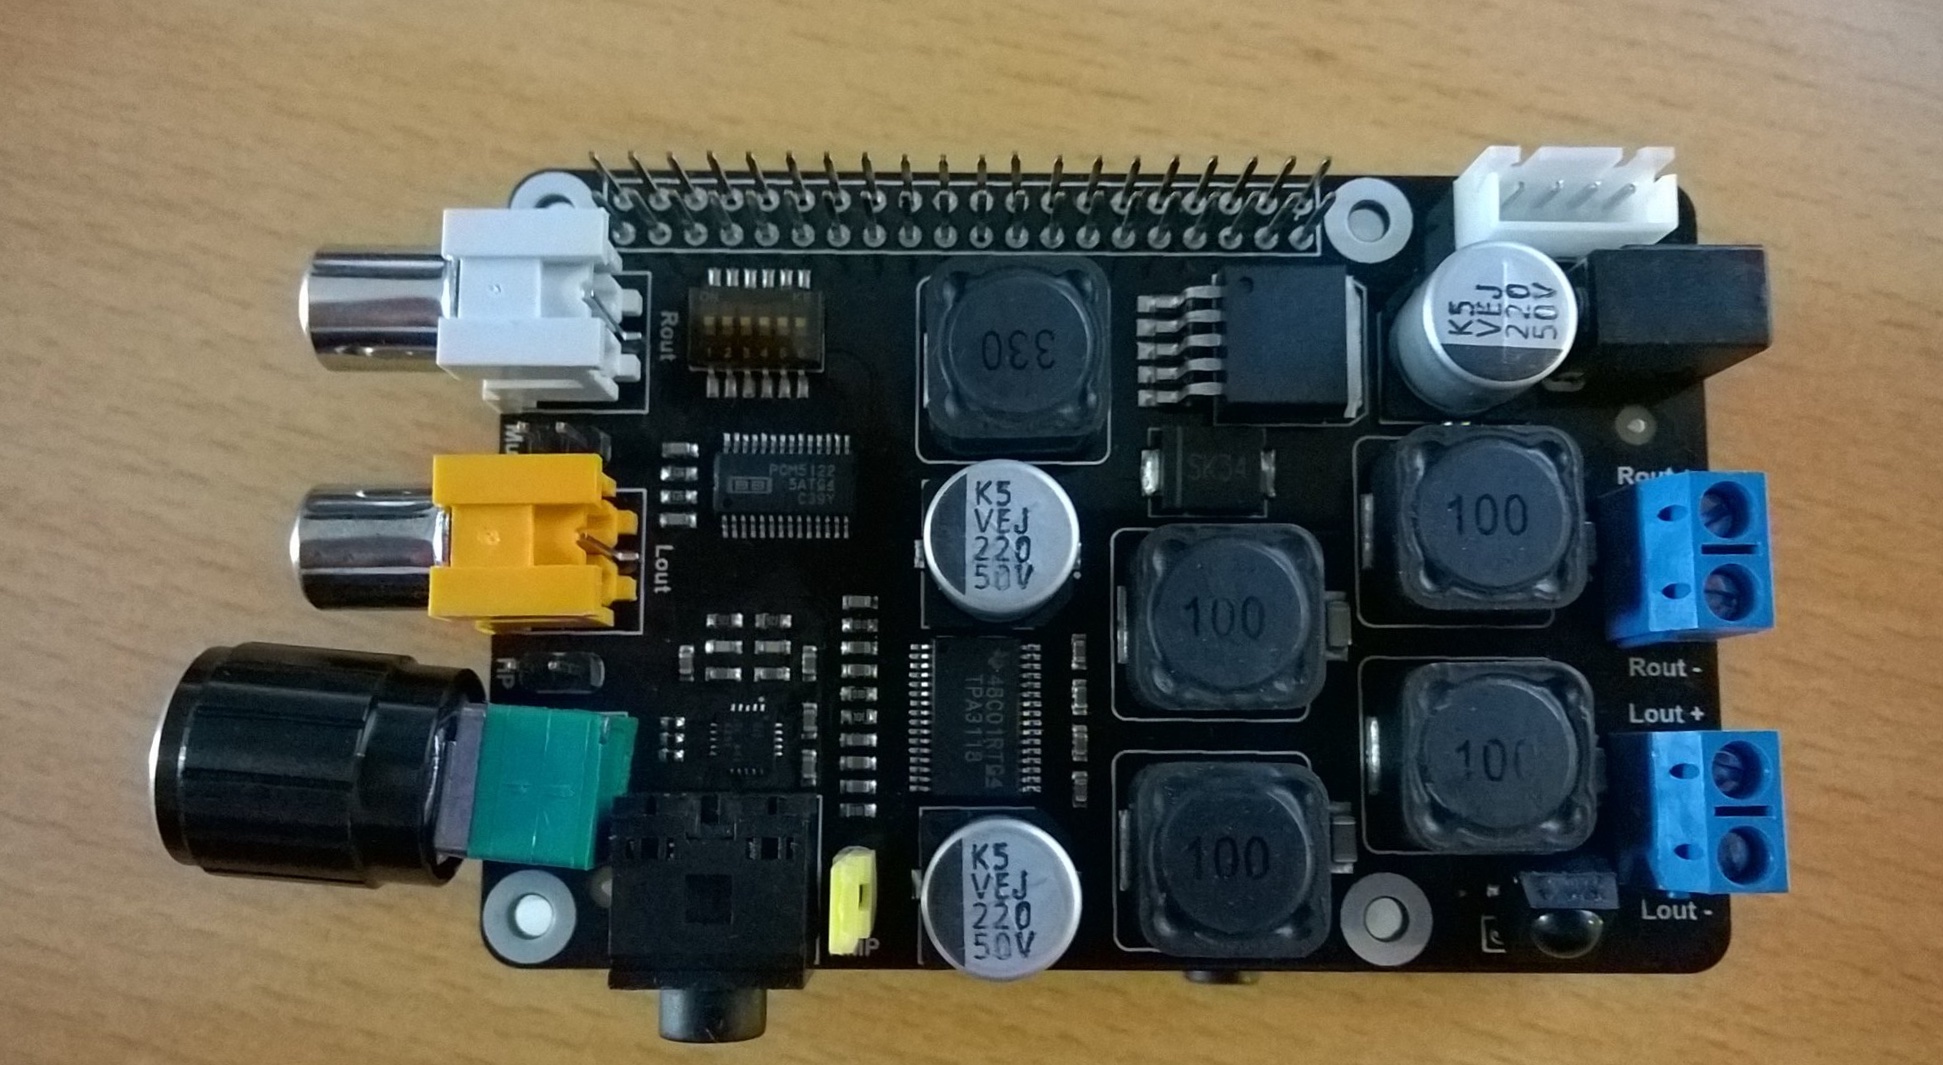
- Audiophile TI Burr Brown 32-bit/384kHz DAC (TI PCM5122)
- Uses the digital I2S audio signals to reduce CPU load over USB audio solutions
- Integrated hardware volume control (Eingebauter Lautstärkeregler)
- Mute can be enabled / disabled via jumper (Stummschaltung)
- Built in High quality audio headphone amplifier (TI TPA6133A)
- Earphone AMP can be enabled / disabled via jumper (Stummschaltung für Kopfhörer)
- Built in High quality Class-D stereo audio amplifier (TI TPA3118D2)
- Up to 2 x 20W into 4 ohm (Ausgangsleistung Lautsprecher mit 4 Ohm)
- Amplifier can be enabled / disabled via jumper
- Phono/RCA connectors
- 3.5mm stereo audio jack (3.5 mm Klinkenbuchse)
- Speaker terminals (Lautsprecher Anschlüsse)
- Built in IR sensor (38KHz)
- Power output socket
- DIP switch to remove connection from RPi’s pin header
- Directly connected on top of the Raspberry Pi using the board GPIO header pins
- No wiring nor soldering is required
- Duplicated the 40-pin header of the R-Pi in order to support existing expansion boards
- Suitable for Raspberry Pi Model B+, Raspberry Pi 2 Model B and Raspberry Pi 3 Model B
Benötigt wird ein Netzteil 15 bis 24 Volt mit 90 Watt : http://amzn.to/2cDon7a
Das Board ist eine High-End Soundkarte für den Raspberry Pi, mit sehr guten Werten im Audio Bereich.


Nun machen wir uns an die Software Installation

sudo vi /boot/config.txt

dtoverlay=iqaudio-dacplus
dtparam=i2c_arm=on
dtparam=audio=on
sudo vi /etc/modprobe.d/raspi-blacklist.conf

# blacklist i2c-bcm2708
# blacklist snd-soc-pcm512x
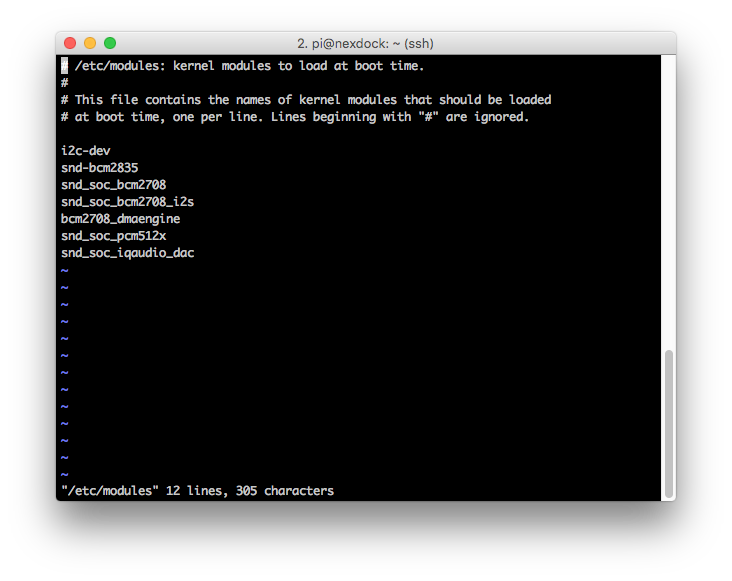
sudo vi /etc/modules

snd_soc_bcm2708
snd_soc_bcm2708_i2s
bcm2708_dmaengine
snd_soc_pcm512x
snd_soc_iqaudio_dac
sync
sudo reboot
Starte nun den grafischen Desktop mit Eingabe „startx“ als „pi“ Benutzer
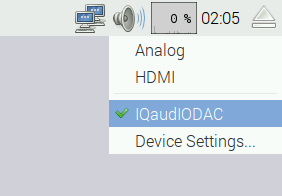 Wähle mit der Maus „IQaudioDAC“ aus und entferne alle gelben Steckbrücken auf dem Board.
Jetzt kommt der Teil mit der Stromversorgung. Entferne nun die 5 Volt USB-Stromversorgung des Raspberry Pi, dieser Schritt ist ganz wichtig sonst kann es zu einem Kurzschluss kommen.
Nehmt dieses Netzteil : http://amzn.to/2cDon7a und kein billiges Netzteil, denn es zerstört sonst den Raspberry Pi und die X400 Platine und ihr habt Störgeräusche im Sound.

Die Platine Suptronics X400 kann hier bestellt werden :
http://www.gearbest.com/raspberry-pi/pp_229446.html
Im Augenblick habe ich nur den Kopfhörer probiert in Verbindung mit dem Browser mit ein paar Youtube Videos. Ich muss sagen der Klang ist astrein und glasklar. Es gibt kein hörbares Rauschen und der Sound ist sehr angenehm. Du kennst dass sicher, wenn man der Kopfhörer aufsetzt und auf einmal die Musik hörst, es fühlt sich genial an und es macht Lust. Was wirklich sehr praktisch ist, dass man die Lautstärke direkt an einem Potentiometer der Platine regeln kann. Es bedarf kein SSH-Login etc. um die Lautstärke zu regeln.

Im zweiten Teil kommt der Test mit Lautsprecher Boxen und eine Infrarot Fernbedienung da auf der Platine ein Infrarot Sensor einbaut ist.
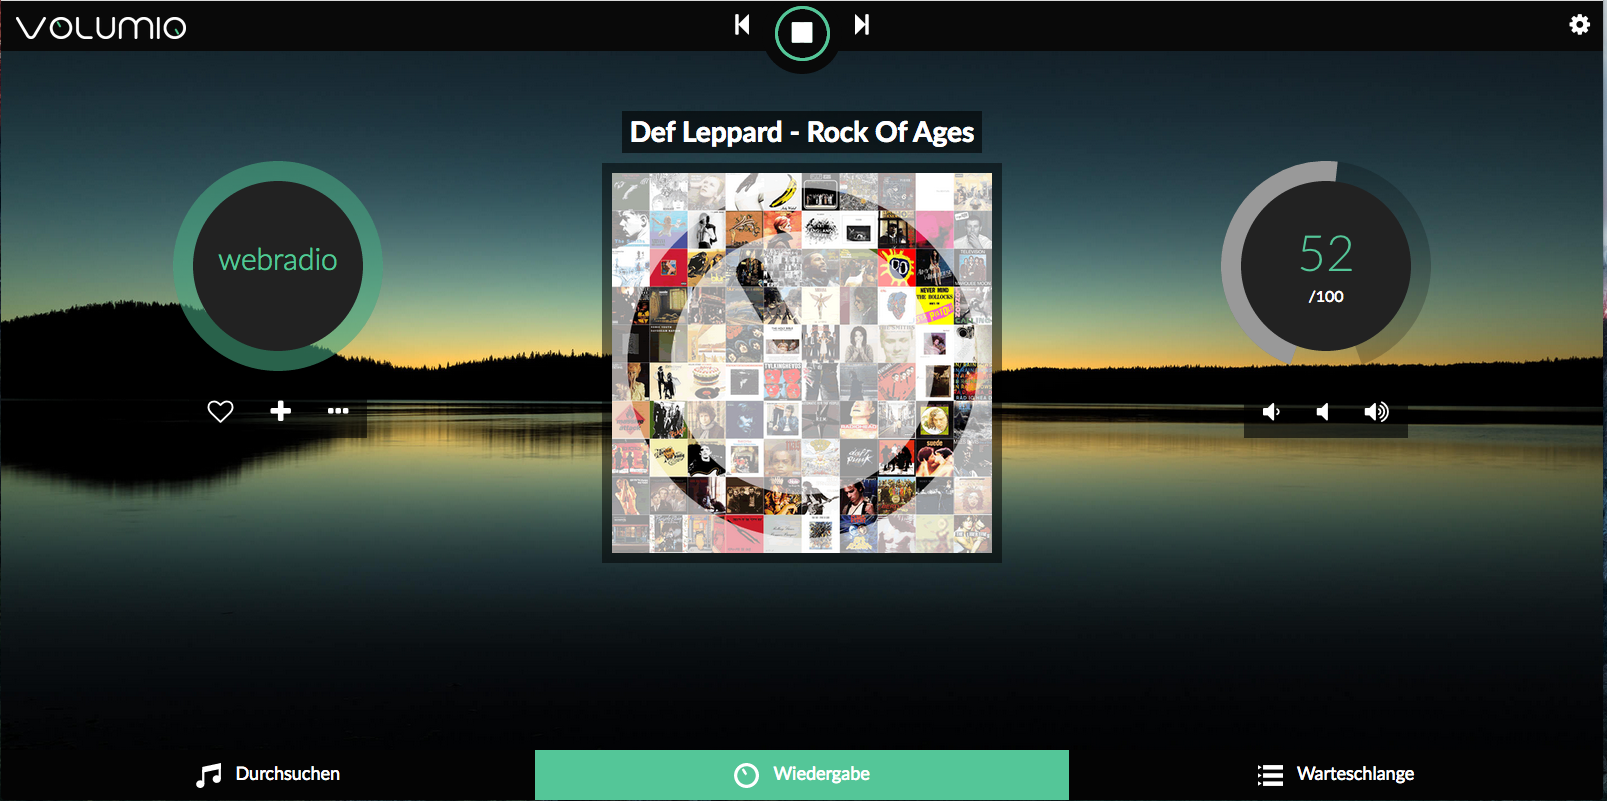
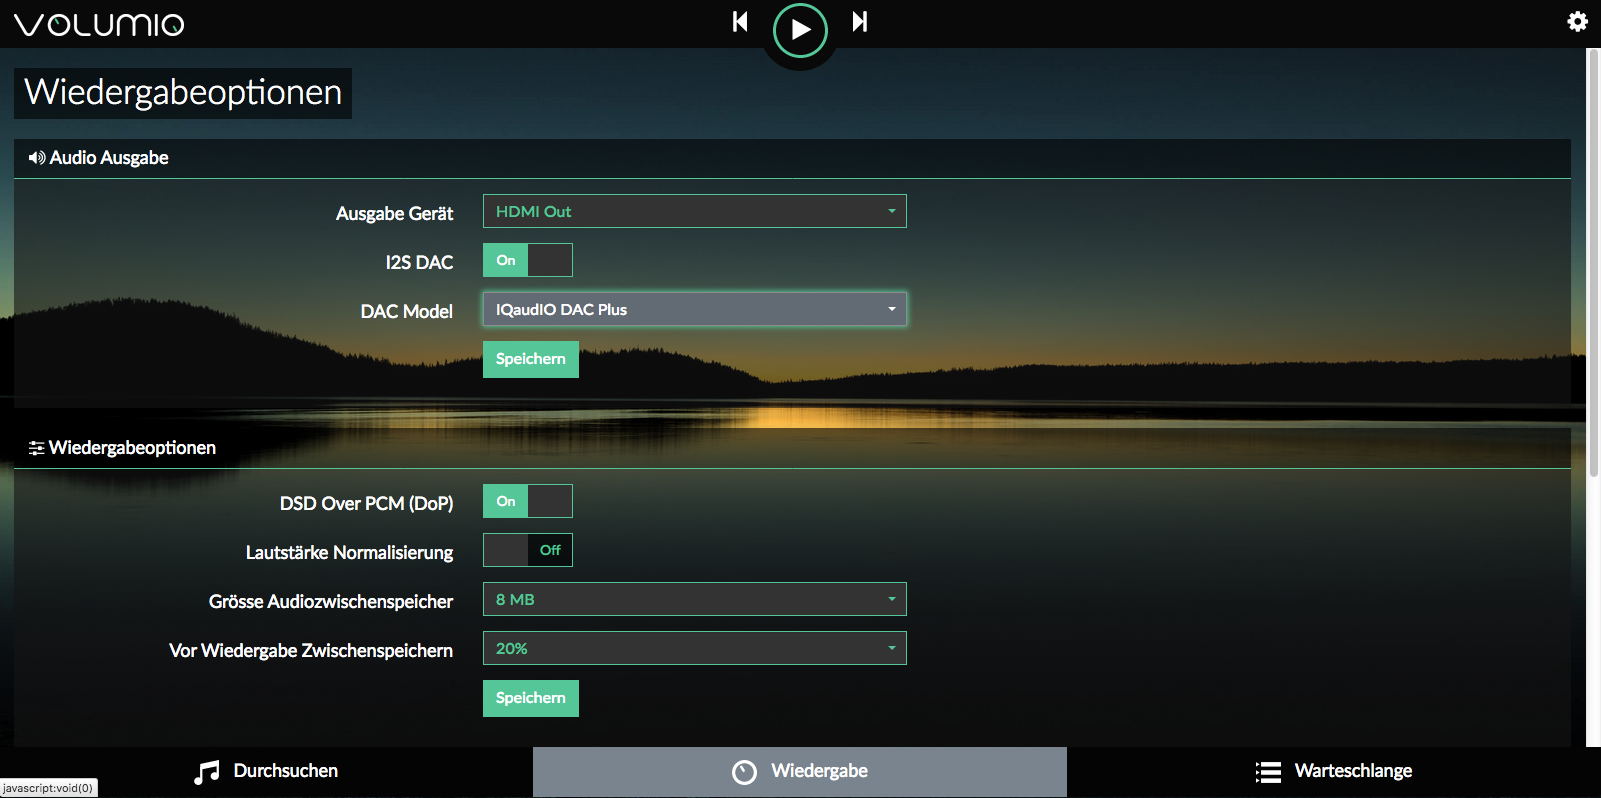
Ein Aufbau mit Volumio ist ebenfalls möglich und wird als I2S DAC Device eingebunden.

Hi! (sorry I don’t speak german)
I have X400 and want use it to Volumio to have internet radio (with my raspberry pi 3 🙂
Can you help me how to do it?
How receive screen config from your post?
I have problem with that.
What I have to record on my microSD card? Only Volumio?
Should I Install first on my microSD card Raspbian Jessie to use it to see console? And after that what to do? Erase this card and put the other card with Volumio only or what?
Pls help me because I want use X400 to music but I’m not a master of how Rapsberry works
Thanks a lot
Hello Michal
1.) Download https://volumio.org/get-started/ the Rasbperry Image
2.) Unzip the downloaded file
3.) Download https://etcher.io/ for Copy any Raspberry Images to SD-Card.
4.) Copy with Etcher the unzip Volumio Raspberry Image to SD-Card.
5.) Plug the SD-Card into the Raspberry Pi
6.) Start the Raspberry with connected X400 Board
7.) https://www.evernote.com/l/AAFV3N5YQhdNDrcQjTL2tmLcg2OhAOneoRg
8.) https://www.evernote.com/l/AAFBnH4xGOxPaqLKlDZHDDxuyTz8uz0Ckoc
9.) Have Fun 🙂
More Info you found here https://blog.unixweb.de/volumio-mit-suptronics-x400-board/
I hope this helps you
Best regards , Joachim
Thanks a lot for quick reply…
Hmm so I don’t need to install some drivers etc to my X400 by console? Only set proper settings in browser in volumio? (IQaudiO DAC Plus).. Because I did it before and it didn’t work 🙁 (no sound) and I don’t know why 🙁
Best regards from Poland and good job!
Hello Michal
yes thats all , you don’t need to install some drivers. Is really plug and play.
Maybe you have not remove the Jumper on „AMP“ on the X400 Board.
If the Jumper already set , please remove it.
Or you can check the sound via the 3.5 mm Connector with some headphone.
I hope this helps you 🙂
Best regards , Joachim
Test, problem was with jumper AMP 😀 Now volumio sounds perfect. Danke!
PS. After I installed volumio on my microSD 32GB memory size decreased to 2GB 😔 Can you recommend some program to make full size od this card again? (and not remove volumio)
Hello Michal
normally Volumio increase the filesystem on the first boot.
I have no idea why do you have only 2GB.
But you can try a second one to install the volumio image, because is very easy and
plug and play. Now do you know how to actived the soundboard 🙂
Best regards Joachim
Hallo,
mangels Informationen im Netz und Messinstrumenten meinerseits:
ich werde mir einen Audioserver bauen auf Basis des X400.
Für die Stromversorgung von Lüftern und des RPi-Touchscreen brauche ich einen 5V-Abgriff.
Nun hat aber meine Version des X400 keine GPIO-Kontakte mehr nach oben herausgeführt, diese sind reine „abgeschnittene“ Lötstellen.
Auf dem Board sehe ich aber neben dem Stromanschluss vier von einer Plastikbuchse eingefasste Kontakte, die mit 5V | 0 | 0 |VIN beschriftet sind.
Ist das ein (teilweise?) stabilisierter Ausgang oder ist das ein „Eingang“ für das Board?
Mit freundlichen Grüßen und Danke für die Hilfe
Jörg Witzsch
Hallo Jörg
also ich kann Dir nur empfehlen dass Du die GPIO Steckpfosten heraus lötest.
Geht ganz einfach mit einer Lötpumpe https://amzn.to/2ncM1ZM oder hier mit Entlötlitze
https://amzn.to/2AHK6pM
Du darfst dem Board auf keinem Fall irgendwelche Spannungen zuführen da es wie bei mir mit 24 Volt gespeist wird. Das X400 Board versorgt den Raspberry Pi schon mit Spannung und der Raspberry Pi darf auf gar KEINEM FALL mit 5 Volt zusätzlich versorgt werden.
Zu Werkzeug nimm ein einfaches Voltmeter https://amzn.to/2ADQbmV und messe die Spannungen sorgfältig. Es geht 100% schief wenn ich hier irgendwelche PIN Ratschläge gebe.
Viel Erfolg und Grüße , Joachim